Collectible cameras reward patience. Many models were produced in large numbers, revised quietly over their production runs, then serviced, swapped and re-covered for decades. The result is that two cameras with the same name can carry very different histories. Our approach is simple: record what is visible first, compare it with published references second, and leave anything unconfirmed labelled as an open question.
Start with the top plate
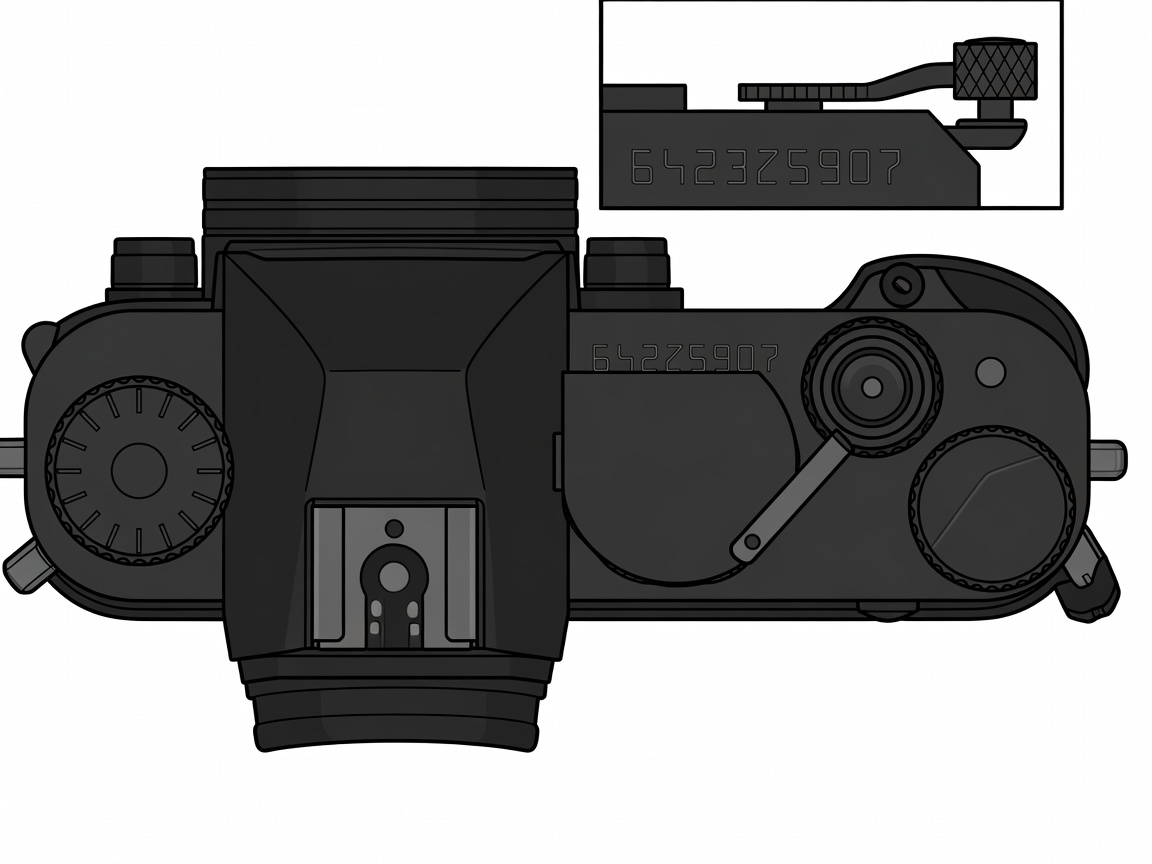
Most makers engraved or stamped the model name and a serial number on the top plate, the lens barrel, or inside the film chamber. Write the number down exactly as it appears, including any letters, spacing or prefixes. Photograph it at an angle so the depth and style of the engraving are visible.
Published serial ranges exist for many well-studied makers, including Leitz, Zeiss Ikon, Rollei and Nikon. A serial inside a known range indicates the probable production period of that body. It does not prove that the lens, shutter, top plate or covering left the factory together. Kits were reassembled by dealers and owners for decades, and that is normal history rather than deception.
Engraving style deserves attention. Shallow, uneven or oddly spaced lettering on a supposedly prestigious model is a reason to slow down. Large numbers of Soviet FED and Zorki bodies, themselves interesting cameras, were later re-engraved with Leica-style markings for the collector market. Treat any unusual engraving, military marking or presentation inscription as a question for a specialist, not a conclusion.
Read the wear like a map
Use leaves traces where hands touch: the winding lever tip, the shutter release, strap lugs, the baseplate edges and the rewind knob. On a camera that has simply been used, these areas age together. Mismatches are informative. A crisp, bright lever on a body with worn brassing at the corners suggests a replaced part. A pristine top plate over a heavily scuffed baseplate may indicate a swapped plate after damage.
None of this is negative by itself. Replaced parts are part of an object's repair history and should simply be recorded honestly.
Glass tells its own story
Hold the lens up to a bright light and look through it from both ends, then shine a small torch into it at an angle. Look for four things: haze, a general milky veil; fungus, branching filaments that look like fine webs; separation, rainbow patches or whitening at the edge of cemented elements; and cleaning marks, fine circular scratches on the front surface.
Some lenses made between the 1950s and 1970s used thoriated glass that yellows over time. Certain early Asahi Super-Takumar 50 mm f/1.4 lenses are well-known examples. Yellowing in these lenses is a material characteristic worth noting, not automatically damage.
Test the mechanics gently
With no film loaded, fire the shutter at every marked speed. Slow speeds should sound audibly longer; a sticky one-second setting often points to dried lubricant. Check cloth focal-plane curtains for pinholes by holding the open back toward a light. Many cameras from the 1960s onward use foam light seals that decay into sticky black residue. Selenium light meters can also weaken with age.
If anything binds, stop. Forcing a jammed mechanism is the most common way an inspection becomes a repair bill.
Look for repair history
A "CLA" (clean, lubricate, adjust) is a routine service, and many cameras have had several. Clues include service stickers, pencil notes inside the body, screws with damaged slots, mismatched screw heads, and covering that looks newer than the metalwork. Ask sellers for paperwork, and record the answer exactly, including "unknown".
What this guide will not do
We do not estimate value or authenticate rare variants. Prices depend on market conditions and on hands-on examination by experienced specialists. What we offer is a disciplined way to look, so that any conversation with a dealer, repairer or auction specialist starts from accurate observations.
Restoration notes
Replacing light seals
Re-covering a body
Cleaning lens fungus
Verified on this shelf
- Engraved serial, recorded as seen
- Shutter fires at listed speeds
- Visible replacement parts
Open questions
- Whether lens and body are factory-matched
- Military or presentation provenance
- Undocumented service history